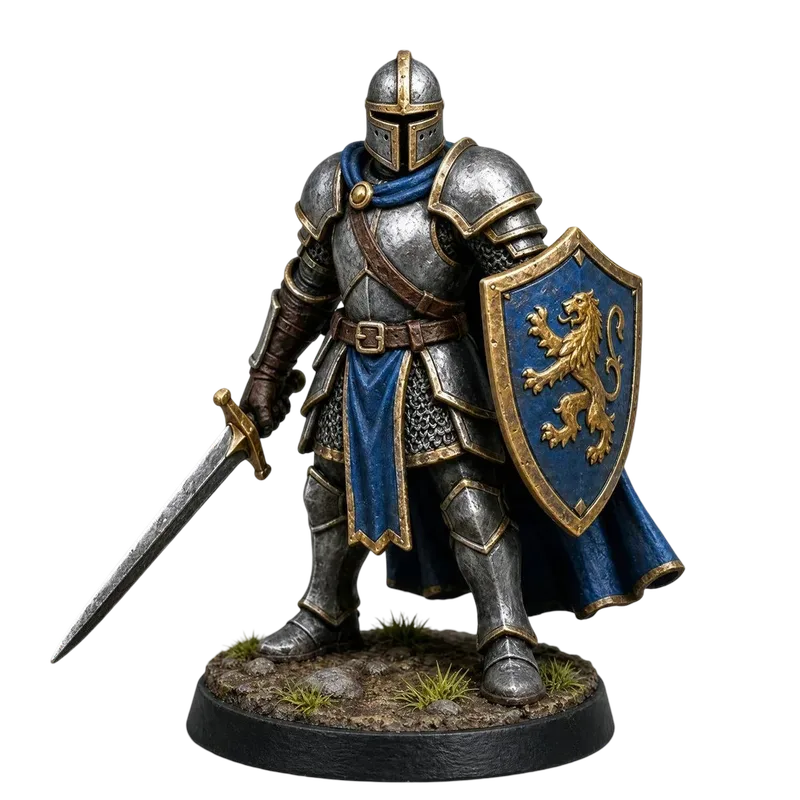
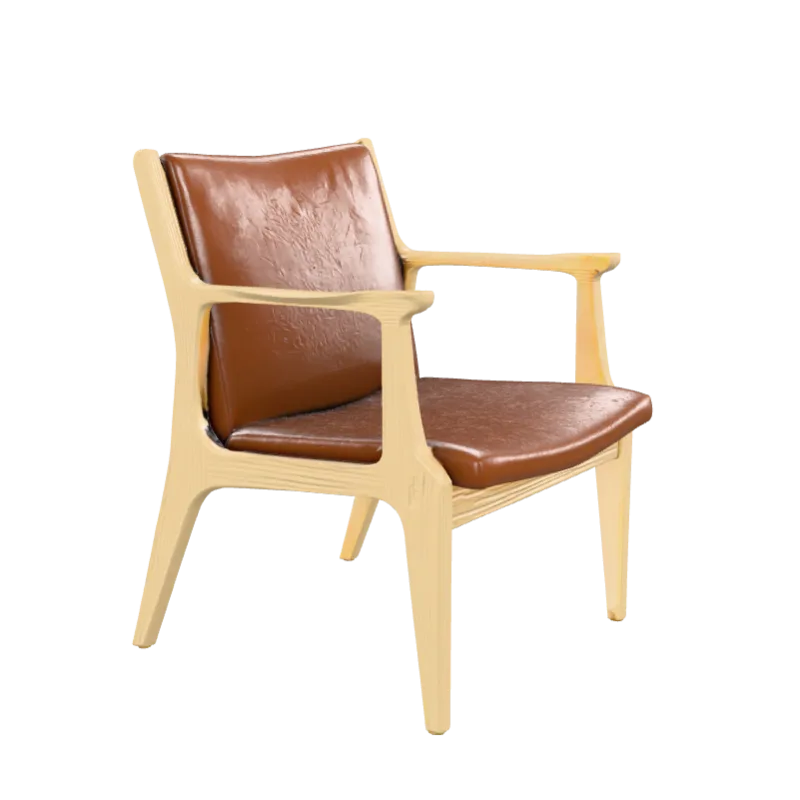
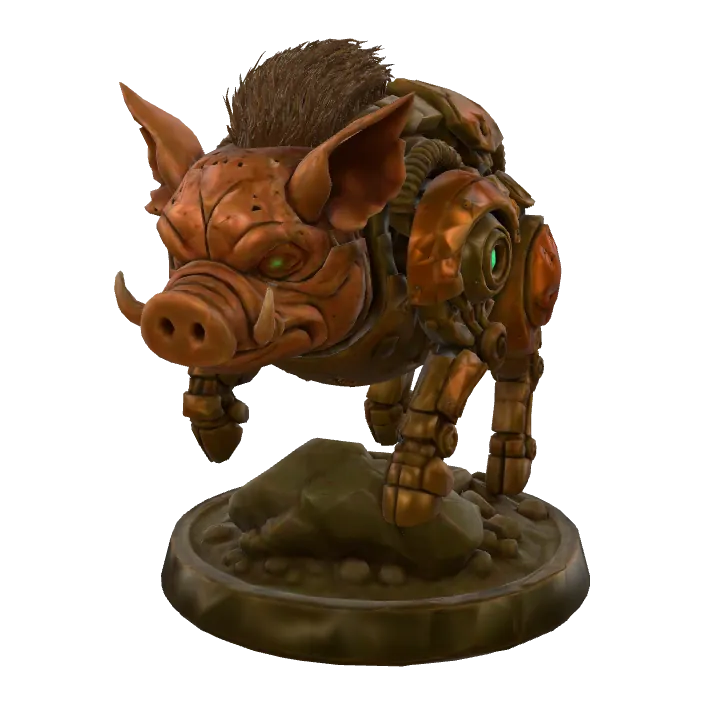
How to make an STL from an image: pick a printable photo, generate a 3D model with AI, convert the GLB to STL free in your browser, then scale it in the slicer.
Last updated:
An STL file is what your slicer wants; a photo is what you usually have. Making an STL from an image used to mean hours of modelling. Now AI builds the shape from one picture, and your browser converts it in seconds. This guide shows how to make an STL from an image on Kairo3D, plus the slicer prep that makes the print succeed.
Make an STL from an image: the short answer
Upload a clear photo on the image to STL page, let AI generate a 3D model in about a minute, and choose STL when you download. Then scale it, flatten the base and add supports in your slicer.
How you get an STL from an image
Two steps take you from a picture to a printable file; then your slicer takes over.
YouImageOne photo or render: JPG, PNG or WebP
AI · about a minute3D model (GLB)Textured mesh. This step uses credits.
Browser · freeSTLShape only: no colour, no units.
YouSlicerScale, base and supports, then print.
Four stops from picture to print: only the AI step uses credits.
STL is just a list of triangles. Almost every slicer accepts it, but you set the scale and colour yourself.
Step 1: Pick a photo that prints well
For printing, the shape matters more than the texture. A good photo:
shows one subject, whole and sharp, on a plain background;
is evenly lit, so shadows aren't mistaken for shape;
is taken from a three-quarter angle, so depth is visible;
has chunky forms: whiskers, antennae and loose hair come out fragile or vanish.
Figurines, toys and busts are the easiest. For pets and people, make sure you have the right to use the photo. Files can be JPG, PNG or WebP up to 10 MB. More tips: how to turn a photo into a 3D model.
Step 2: Generate the 3D model
Open the image to STL page (or the image to 3D generator), upload the photo and choose an engine:
TRELLIS 2, the default: clean, detailed geometry for most prints.
Pixal3D: the visible side stays very close to the photo.
Hunyuan 3D 3.1 Pro: fine detail on characters and busts, at a slower pace.
Rodin Gen-2.5 Fast: the quickest test run.
The credit cost shows before you generate (plans are on the pricing page), and failed runs are refunded automatically.
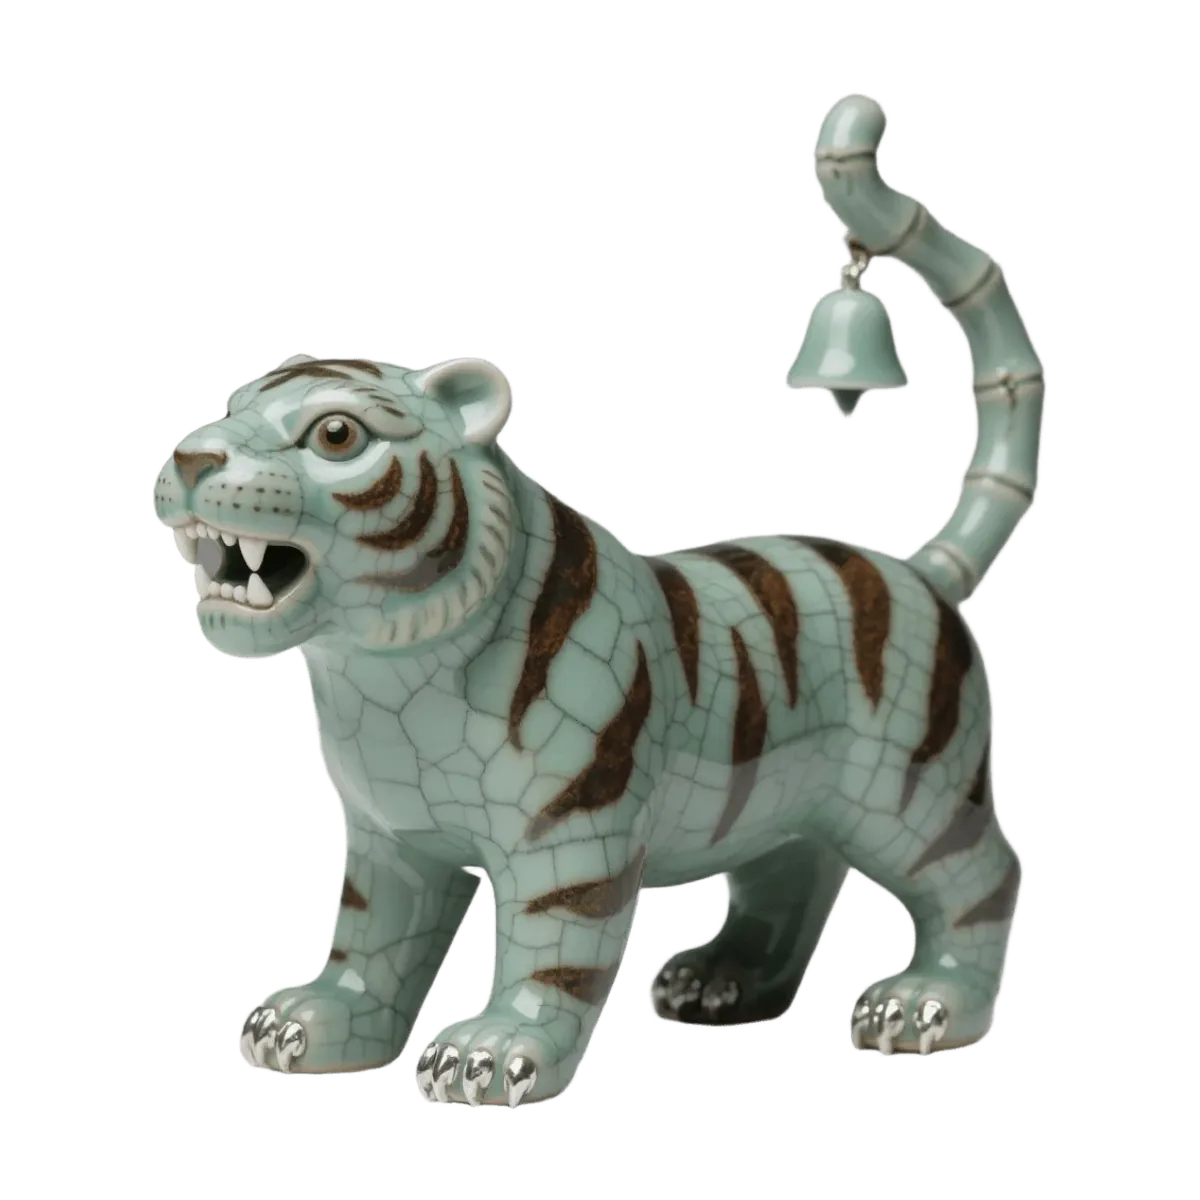
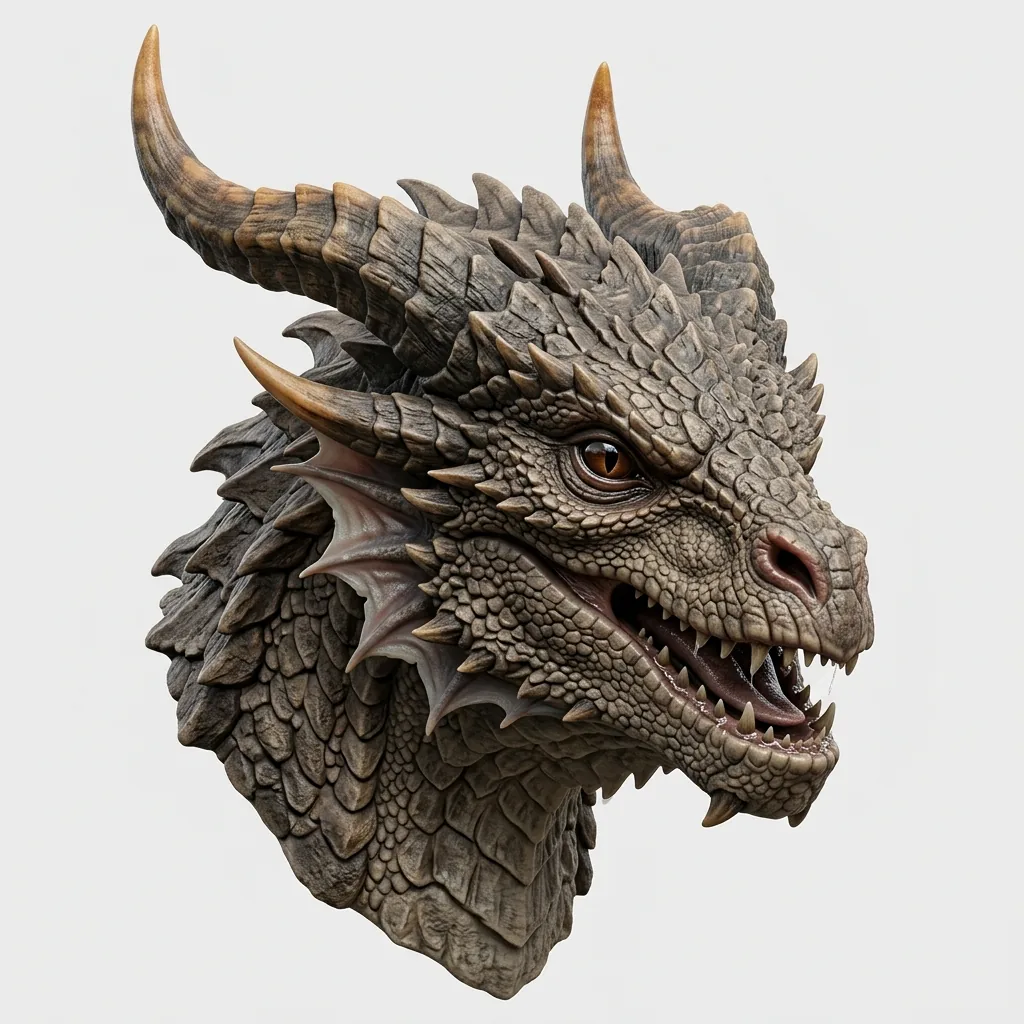
Input image
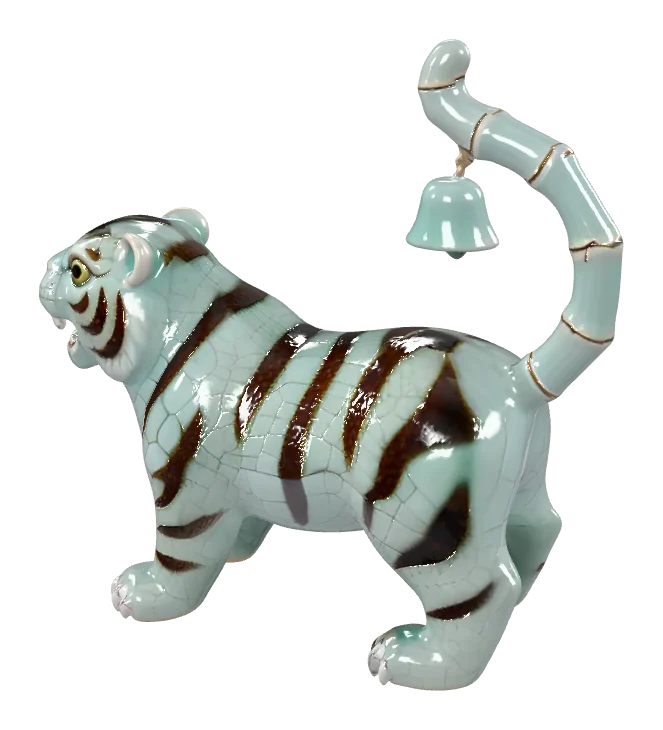
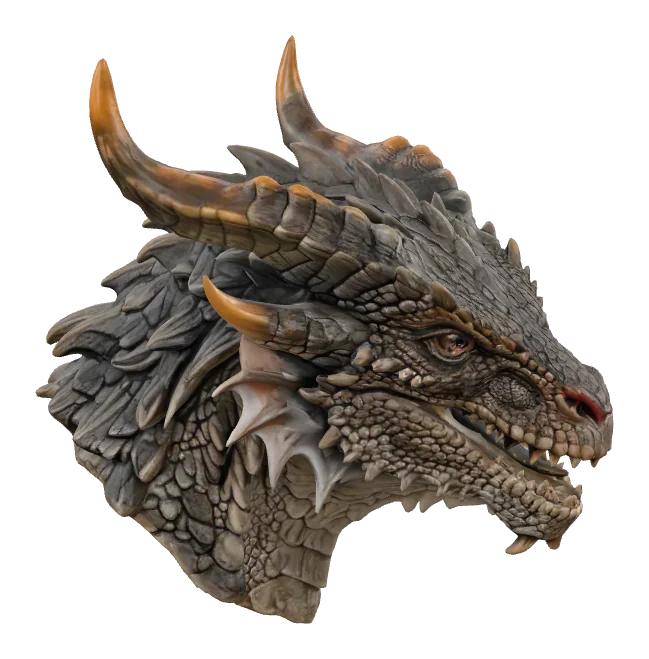
Example 3D model
Judge the shape, not the paintRotate to the back and the base: both were inferred from one view.STL drops the colours anyway, so compare engines on shape alone.Look hard at thin parts such as horns and spikes: they print fragile.
Step 3: Convert the GLB to STL
Choose STL when you download. The conversion runs in your browser at no extra cost and stands the model upright (Z-up) for slicers, but it doesn't rescale it.
What an STL keepsThis turntable shows a textured model, then its bare geometry. An STL keeps only the second part: the shape, without colour.
For a GLB from another tool, use the free GLB to STL converter. It needs no sign-in, uploads nothing, and:
stands glTF's Y-up models upright in the Z-up orientation slicers expect;
rescales with Fit longest side to 100 or Metres to millimetres, and shows the new size.
Then check size and volume in the free STL viewer.
Step 4: Prepare the STL in your slicer
Open the STL in Bambu Studio, OrcaSlicer, PrusaSlicer, Cura or any slicer that reads STL, then work through five checks:
1
Set the size
STL has no units and GLB uses metres, so an unscaled AI model can arrive about a millimetre tall. Scale it first.
2
Give it a flat base
Cut a few millimetres off a rounded or uneven bottom, or lay the model on its flattest face.
3
Decide on hollowing
FDM fills the inside with infill. For resin, hollow larger models and add drain holes.
4
Add supports
Overhangs steeper than about 45 degrees (chins, arms, wings) need them. Tree supports come off figurines more cleanly.
5
Check thin parts and errors
Walls under about two nozzle widths (0.8 to 1 mm on a 0.4 mm nozzle) may fail. Try the slicer's repair option, or fix stubborn holes in Blender.
Honest limits of making an STL from an image
Not guaranteed watertight. Most AI meshes slice fine, but some have small holes or loose fragments.
Not CAD-grade. Dimensions are approximate, so don't expect parts that fit together precisely.
Single colour. STL can't carry the texture; paint the print or use coloured filament. Colour 3MF export isn't supported yet; see 3MF vs STL for what each format stores.
FAQ: making an STL from an image
New accounts may get free credits to start. Generating the 3D model uses credits, and each engine shows its cost before you run it; failed runs are refunded. The STL conversion itself is free, and so are the GLB to STL converter and the STL viewer, which need no sign-in.
About a minute for the AI model, depending on the engine: roughly 30 seconds to two minutes. The STL conversion in your browser takes seconds. Slicer prep (scale, a flat base and supports) adds a few minutes, and then the print takes as long as your printer needs.
Only as a relief. A flat image has no depth, so tools that convert pixels directly make a raised relief or a lithophane, not a full object. For a figure you can view from every side, you need a 3D model first, which the AI step creates.
Start with TRELLIS 2, the default, for clean and detailed geometry. Try Hunyuan 3D 3.1 Pro for characters and busts with fine surface detail, or Pixal3D when the visible side must stay close to the photo. STL drops the colours, so compare engines on shape alone.
Yes, as a figurine or a bust. Hunyuan 3D 3.1 Pro handles fine surface detail on characters well. Hair, fur and whiskers come out simplified or fragile, so chunky poses print best. Make sure you have the right to use the photo before you print or share the model.
STL has no units and GLB uses metres, while slicers read the numbers as millimetres, so an unscaled AI model can arrive about a millimetre tall. Scale it in your slicer, or export with the GLB to STL converter set to Metres to millimetres or Fit longest side to 100.
Not guaranteed. Most AI meshes slice fine, but some have small holes or loose fragments. Open the STL in your slicer, let it repair the errors it reports, and fix stubborn holes in Blender. Check thin walls too: anything under about two nozzle widths may not print.
Any slicer that reads STL, including Bambu Studio, OrcaSlicer, PrusaSlicer and Cura. There's no direct integration: download the file and open it. Check the size first, since STL carries no units, then add a flat base and supports where the model needs them.
Not from the STL alone. STL stores shape, not colour, and Kairo3D doesn't export colour 3MF. Print in one colour and paint it, or use coloured filament, with the textured GLB as your painting reference. Our 3MF vs STL guide explains what each format stores.
As big as your printer allows, because you set the size in the slicer. For objects larger than the build plate, cut the model into parts and glue them after printing. At the final size, keep thin parts at least about two nozzle widths thick.